
Last updated August 25, 2026
Free on-site gate assessment - hinges, posts, and your LiftMaster or Nice gate operator checked before anything is quoted
The assessment is free and the quote is the invoice.
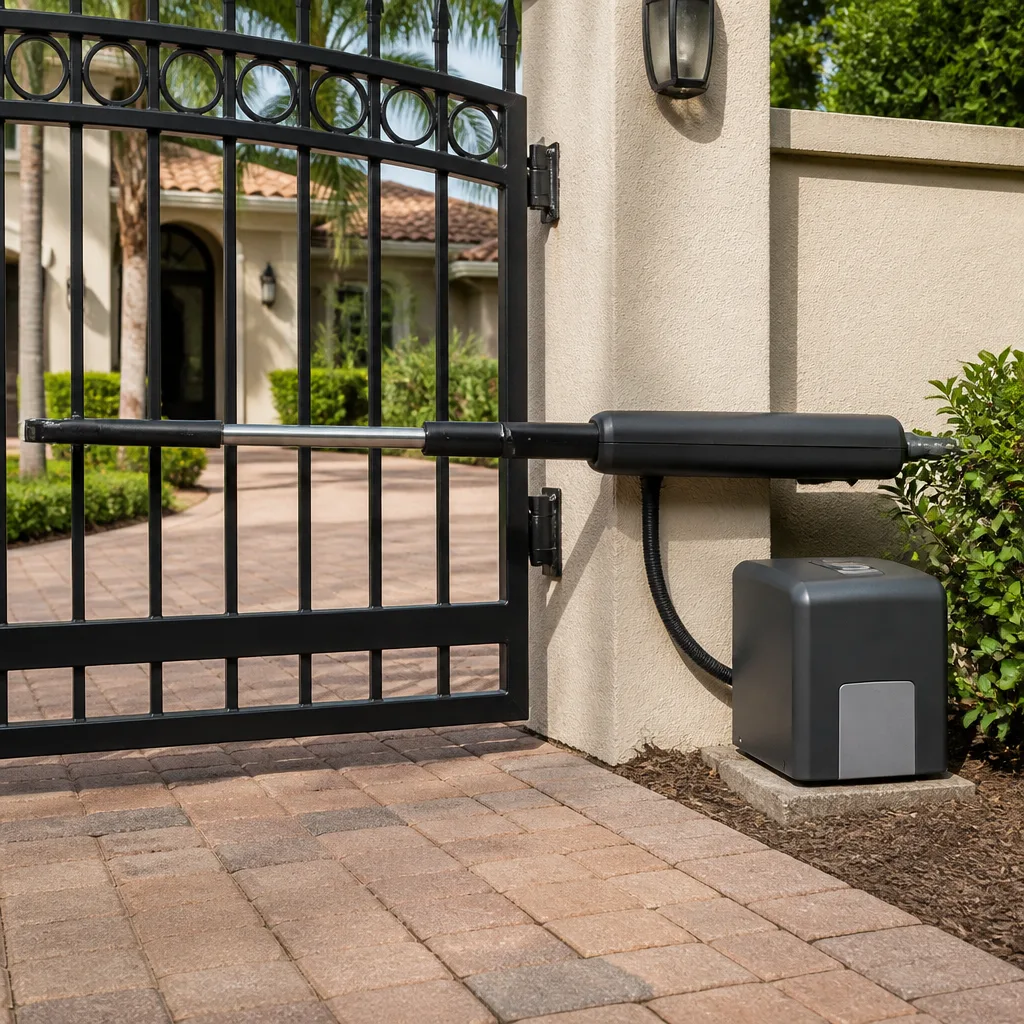
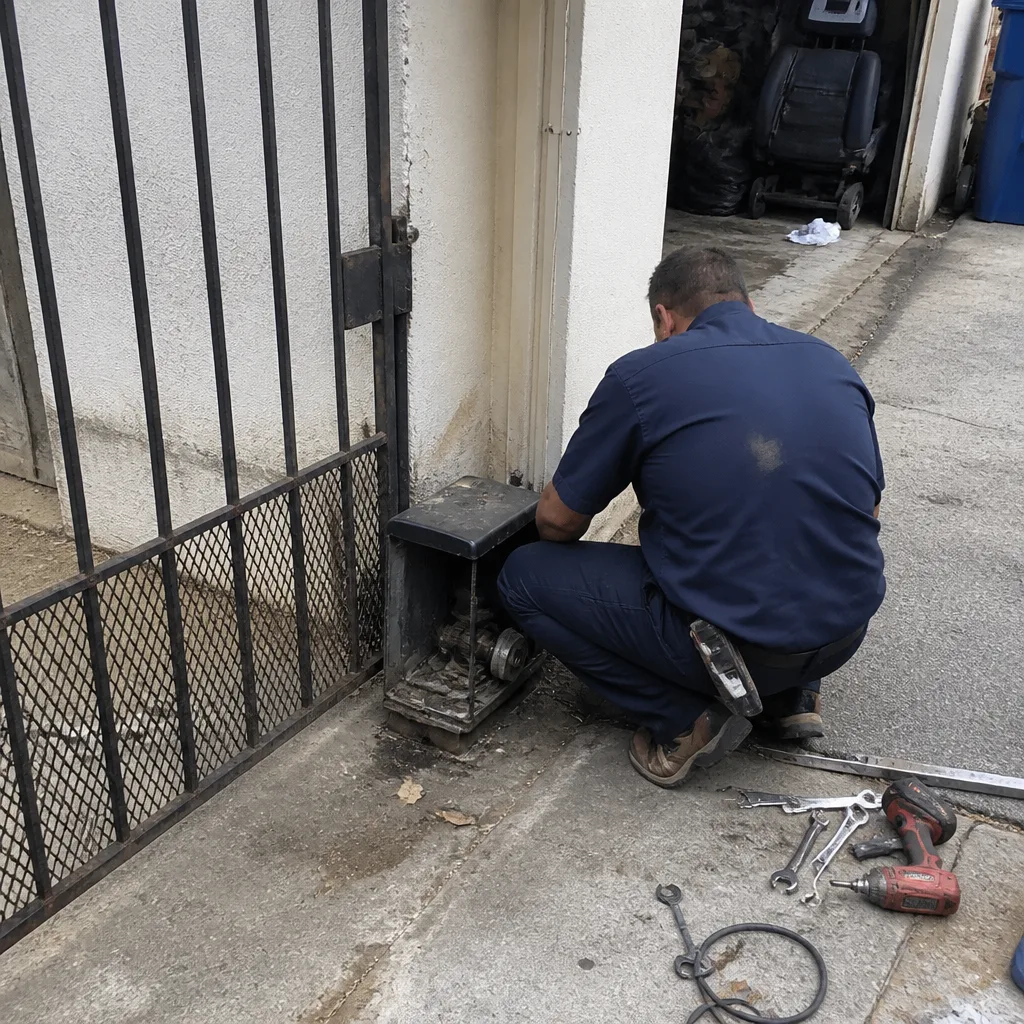 Before
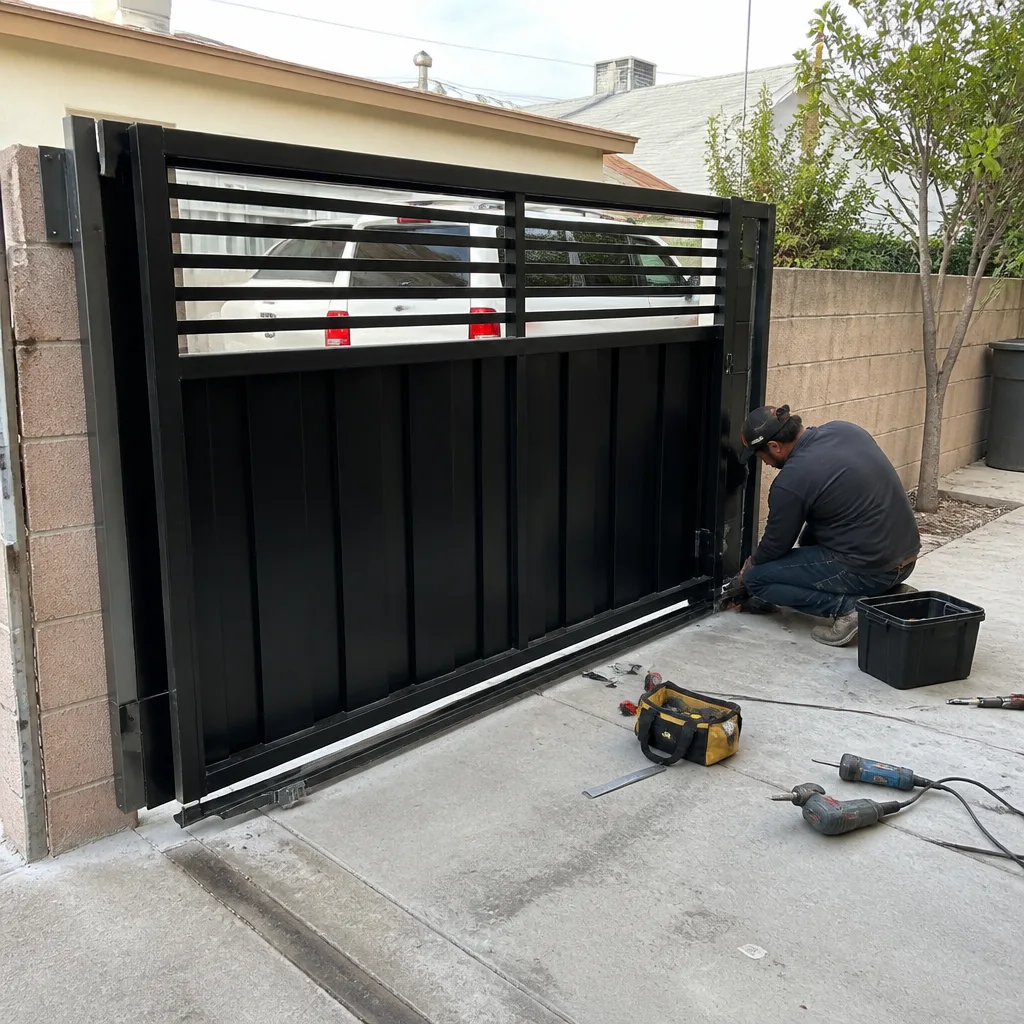 After
After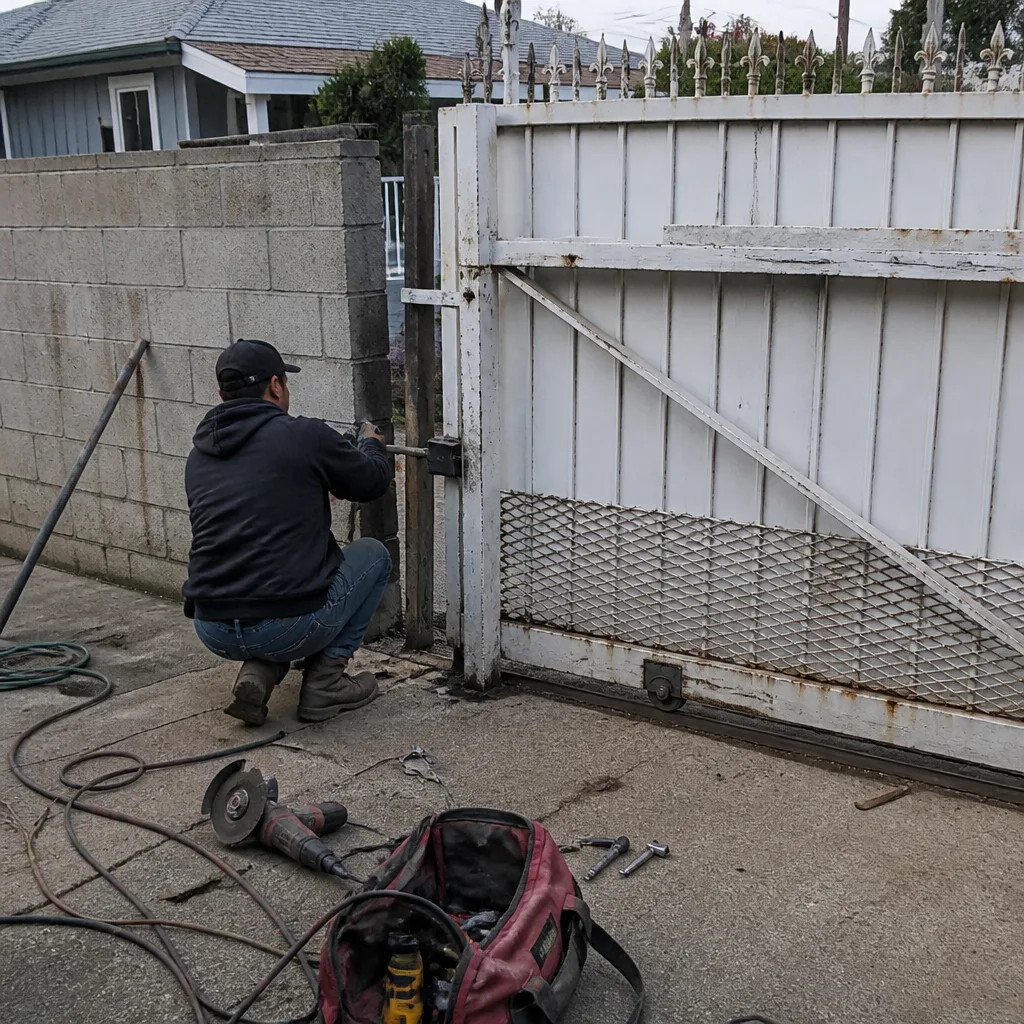 Before
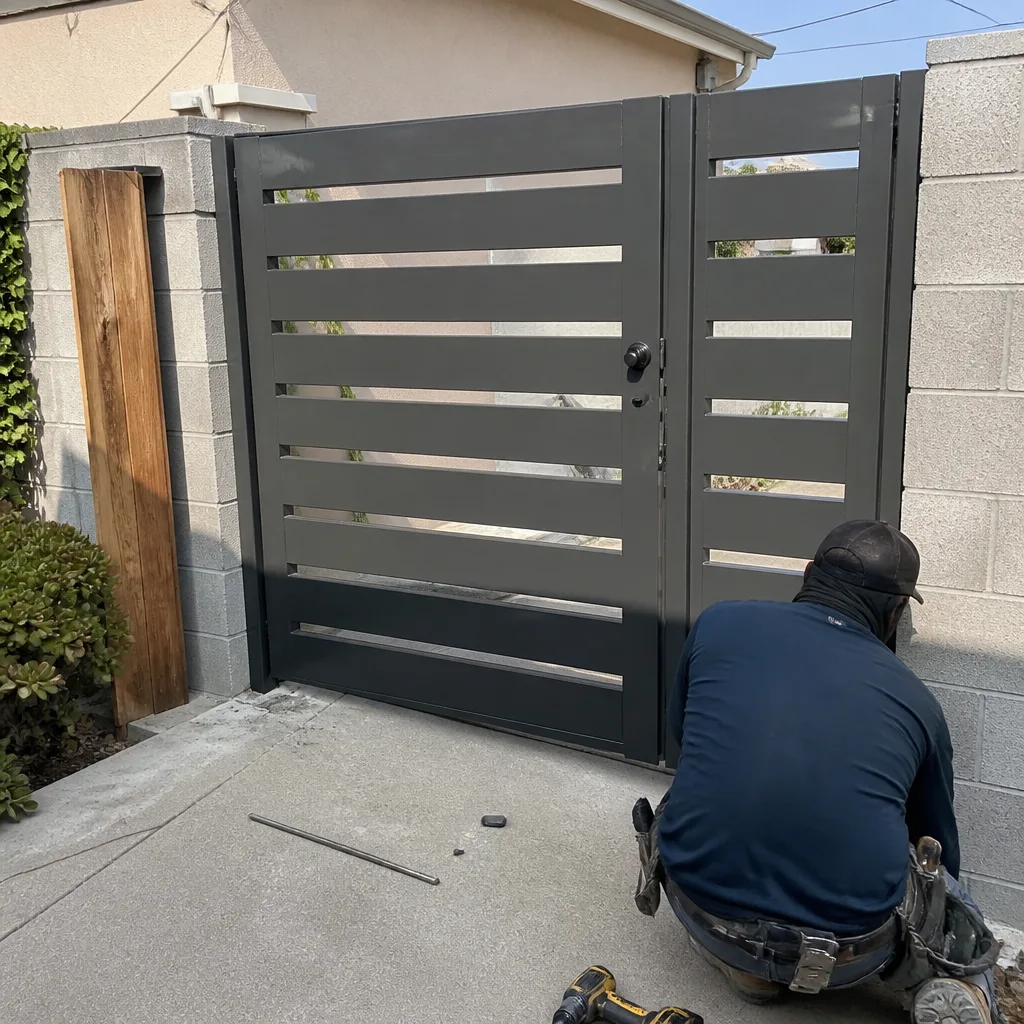 After
After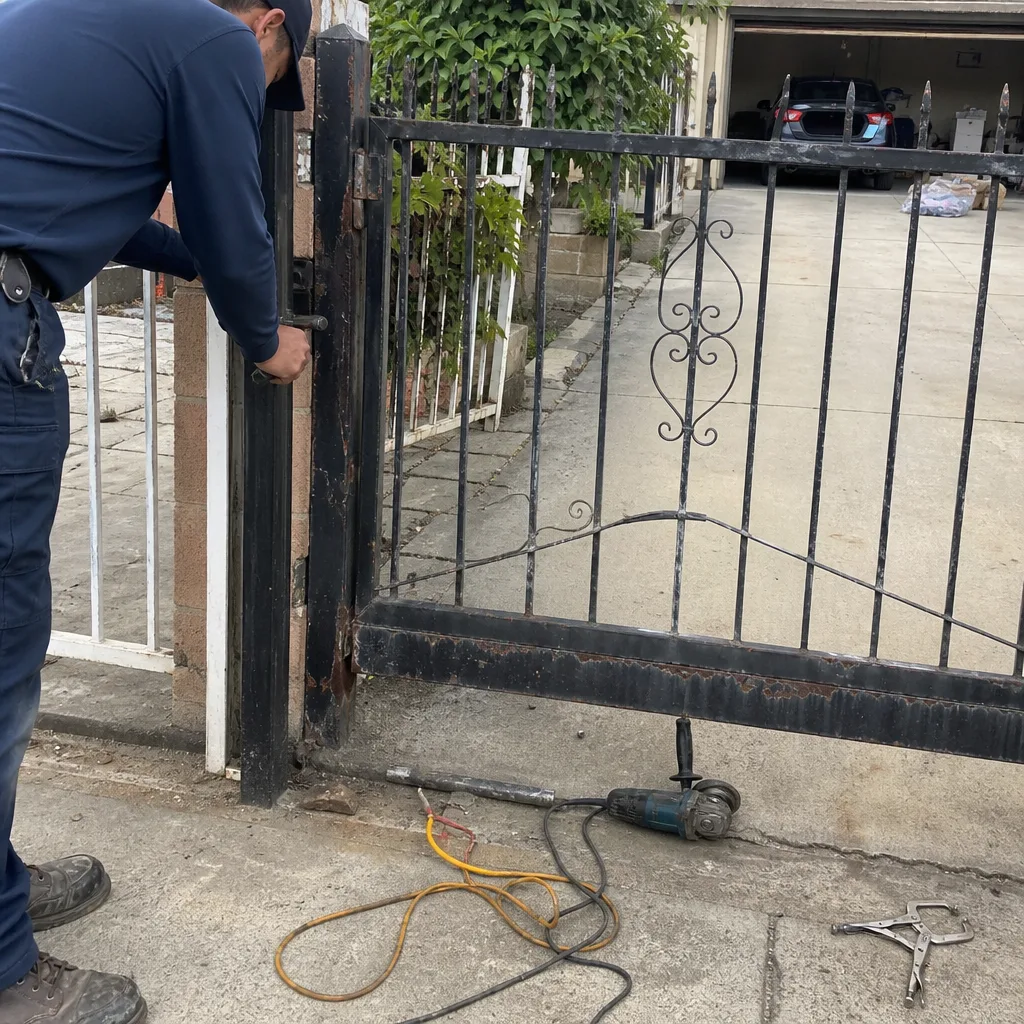 Before
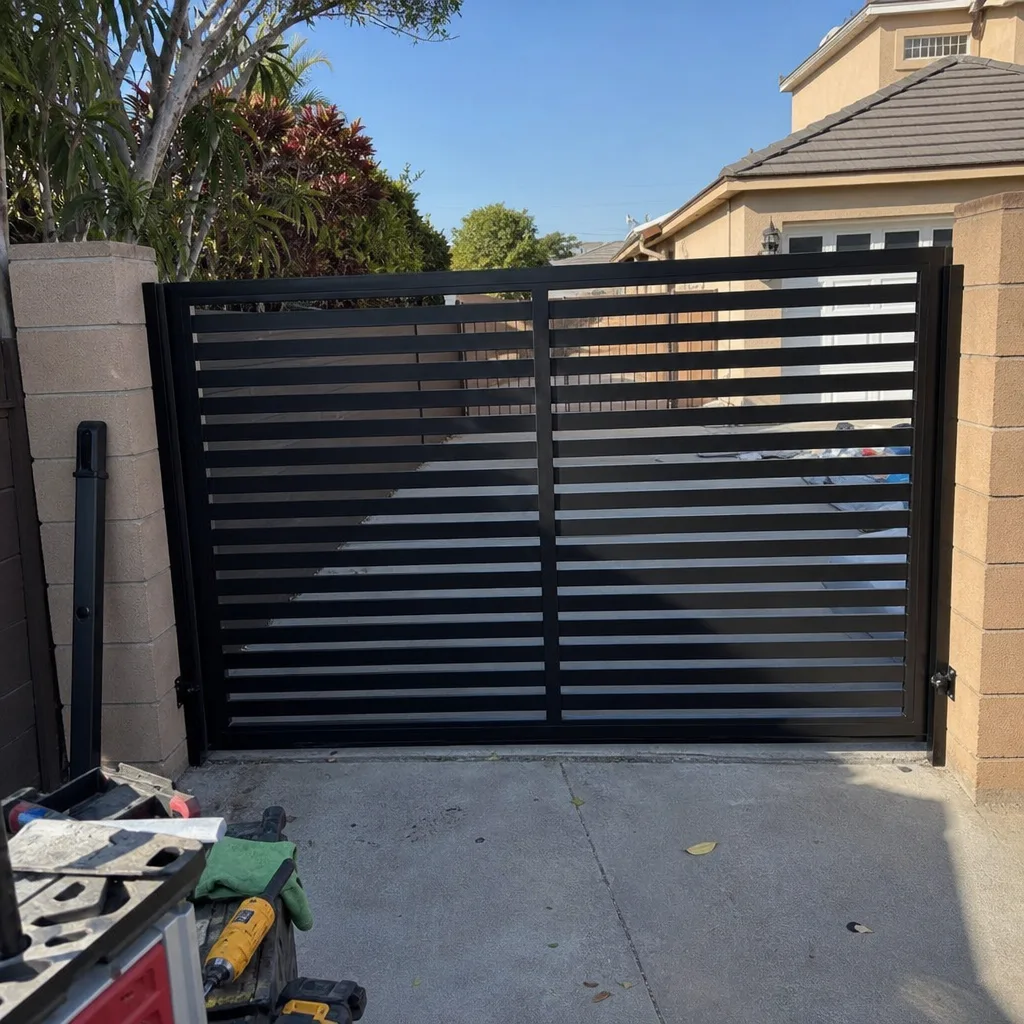 After
AfterDIY vs Professional Gate Repair: The Huntington Park Homeowner’s Decision Guide
Most Huntington Park homeowners don’t realize a single driveway gate cycle puts roughly 80 to 120 pounds of lateral force through the hinge posts. Over a decade, that’s tens of thousands of stress cycles on steel, concrete, and fasteners. What looks like a simple sag is often the first visible symptom of a foundation issue, a failing weld, or an opener that’s been fighting itself for months. This guide walks through what’s genuinely safe to tackle on a Saturday morning, what will cost you more after a failed attempt, and what demands a trained hand from the start. We wrote it from 42 years of working on gates across Huntington Park, where the soil, the salt air from the industrial corridor, and the age of the housing stock create a specific set of failure patterns we see week after week.
Quick Answer
Homeowners in Huntington Park can safely handle basic lubrication, sensor cleaning, and track clearing on their own. Spring tension work, welding, opener motor replacement, and any repair involving a gate leaning more than an inch out of plumb should go straight to a professional. The deciding factor is not your mechanical skill - it’s whether the component stores kinetic energy, carries structural load, or controls electrical current. Those three categories account for nearly every serious gate injury we encounter, and they’re the ones where a mistake turns a $200 fix into a $1,800 replacement.
Table of Contents
- Understanding What Your Gate Actually Is
- The Short List: Repairs That Are Safe to DIY
- The Never-Attempt List: Repairs That Can Injure You
- True Cost Comparison: DIY vs Professional in Huntington Park
- Why Huntington Park’s Climate and Housing Stock Change the Math
- Tools, Training, and What “Done Right” Actually Means
- Step-by-Step: A Safe DIY Maintenance Routine
- Step-by-Step: What a Professional Gate Repair Actually Involves
Understanding What Your Gate Actually Is
A driveway gate in Huntington Park is simpler than most people assume, and more dangerous than most people treat it. There are four subsystems: the structural frame (posts, hinges, gate leaf), the movement system (wheels, track, or swing hardware), the power system (motor, control board, transformer), and the safety system (photo eyes, edges, reverse sensors). Most failures look identical to a homeowner regardless of which subsystem is failing. A gate that won’t close could be a dirty sensor, a stripped gear, a bad capacitor, or a hinge that’s sagged enough to bind the latch. The difference in repair cost spans from zero dollars to several thousand. Knowing which subsystem you’re actually dealing with is the first decision point in the DIY-versus-pro question. In our experience across Huntington Park’s older neighborhoods, roughly forty percent of “opener failures” are actually structural binding - the opener is fine, but it’s working against a gate that no longer hangs true. Fixing the opener without fixing the binding is like replacing a car engine because the parking brake is on.
Gates fall into three categories in Huntington Park. Swing gates on posts are most common in the older residential neighborhoods east of Pacific Boulevard, where lots are wider and driveways feel more suburban. Slide gates dominate the commercial and industrial properties along Randolph and Gage, and they show up on a handful of larger residential lots too. Pedestrian gates run alongside the vehicle gate on maybe a third of the homes we service. Each type has entirely different DIY implications. A swing gate’s hinge and post system is structural load-bearing - mistakes there hurt people. A slide gate’s track and roller system is mechanical wear - mistakes there cost money but rarely injure. A pedestrian gate is usually light enough to be genuinely DIY-friendly for most maintenance.
The Short List: Repairs That Are Safe to DIY
Some chores on a Huntington Park gate are honest maintenance rather than repair, and any careful homeowner can do them without risk or special equipment. These are the tasks where a professional would not do anything meaningfully different from what you can do yourself. They prevent premature failure, they cost almost nothing, and they’re safe.
- Lubricating hinges, rollers, and chains. Use a dry silicone spray or white lithium grease on metal-to-metal contact points. In Huntington Park’s dry summer heat, lubricant evaporates faster than you’d expect, so twice a year is the right interval. Wipe off excess; it attracts grit from the industrial corridor’s airborne dust.
- Cleaning photo eye lenses. The small round or rectangular sensors near the base of the gate collect dust, spider webs, and the fine particulate that settles across Huntington Park. A dry cloth on both lenses resolves a surprising number of “gate reverses for no reason” calls.
- Clearing the slide track. Pebbles, leaves, and the occasional piece of trash from the street blow into steel V-track. Brush it out with a stiff broom. Never use a pressure washer pointed directly at track-mounted sensors or rollers - water ingress into sealed bearings shortens their life considerably.
- Tightening visible fasteners. If a hinge bolt, latch screw, or track bracket is visibly loose and you can access it without removing the gate or reaching under a load, snug it. Use the correct size socket - rounding off a bolt head turns a two-minute job into a two-hour extraction.
- Testing the reverse and safety functions monthly. Place an empty cardboard box in the gate’s path and run a close cycle. The gate should stop or reverse before crushing the box. If it does not, stop using the gate and call a professional - that is an injury waiting for a child or a pet, not a tune-up task.
These five tasks cover most of what a homeowner will ever safely do on a gate. If what’s wrong with your gate is not on this list, keep reading before you pick up any tools.
The Never-Attempt List: Repairs That Can Injure You
Certain gate components store enough energy to break bones, crush fingers, or launch a tool into your face when they let go. A gate spring under tension is the most common culprit, but not the only one. We are not listing these to protect our business - we are listing them because we have seen what a released torsion spring does to a forearm, and we would rather write this paragraph than take that call.
- Swing gate spring replacement or tension adjustment. The steel spring on a residential swing gate holds hundreds of pounds of stored force. The bolt or pin that releases that tension must be handled in a specific sequence with the gate properly blocked. Get it wrong and the spring, the bracket, or the tool becomes a projectile.
- Any weld repair on a moving gate or hinge. A bad weld is worse than no weld, because it fails suddenly under load. Structural welding on gates requires proper penetration, correct filler material, and often gusseting. It also requires knowing whether the existing metal is thick enough to accept a repair weld at all. On older Huntington Park gates, rust-thinned steel sometimes cannot be welded safely and needs section replacement instead.
- Opener motor or control board replacement involving line voltage. The low-voltage wiring between the keypad, the photo eyes, and the control board is generally safe to touch. The 110V or 220V supply feeding the transformer is not. If you have to open a junction box or wire into the panel to finish the job, that’s where the DIY line gets drawn.
- Resetting a gate that has jumped its track or fallen off its rollers. A slide gate that has derailed weighs several hundred pounds and wants to tip. The blocks and jacks required to control that weight while you reset it are not something most garages have on hand. Even with the right gear, the pinch points between the gate and the track will take a finger in about the time it takes to blink.
- Post replacement or re-setting a leaning post. A leaning gate post in Huntington Park usually means the concrete footer has cracked, the soil has shifted, or the post has rusted at ground level. Digging out and re-setting a post means temporarily supporting a several-hundred-pound gate in the air. That is a two-person job with lifting gear and a lot of respect for what’s overhead.
If your repair involves any of these, the cost of calling a professional is not the cost of the repair. It is the cost of not paying for the ambulance, the hospital, the replacement gate, and the two weeks of living without a secure driveway.
True Cost Comparison: DIY vs Professional in Huntington Park
The honest answer most people don’t hear until after their first failed DIY attempt: the material cost is rarely the expensive part of a professional gate repair. It’s the diagnosis, the tooling, the truck, and the insurance. When a Huntington Park homeowner compares a $35 hinge kit from the hardware store against a $280 professional hinge replacement, they’re not comparing the same thing. The $35 kit doesn’t include the knowledge that the hinge was the wrong type for the gate’s weight, the two hours to cut out the old frozen bolts, the correct stainless fasteners that will not rust out in five years, or the guarantee that it’s done right.
Here’s what typical gate repairs actually cost in the Huntington Park market, based on what we see every week:
- Lubrication and seasonal tune-up: $89 as a standing service. DIY cost: about $10 in lubricant and an hour of your Saturday.
- Photo eye cleaning or minor sensor alignment: $0 if you can do it yourself. If the sensor needs wiring repair, $85-$145 in this market. DIY cost of guessing wrong and replacing the sensor yourself: $45-$90 in parts.
- Hinge replacement on a standard residential swing gate: $180-$420 professionally, including the correct hardware and labor, depending on how frozen the old bolts are. DIY: $35-$90 in parts, but a single stripped or broken bolt pushes most homeowners to a pro anyway.
- Spring replacement or tension adjustment: $180-$340 professionally. This is not a DIY job at any price - the risk equation simply does not work.
- Opener motor replacement (parts and calibrated labor): $600-$1,400 depending on brand and line-voltage work required. DIY parts-only: $350-$800. But a mis-wired control board can destroy the new motor on first power-up, and most manufacturers will not honor a warranty on a self-installed opener.
- Post re-setting or footing repair: $500-$1,100 depending on depth, concrete, and whether the existing footer can be re-used. This is never a one-person DIY job.
- Full gate replacement with new structure, hardware, and opener: $3,500-$8,000 in this market depending on size and automation. Most Huntington Park homes fall between $4,000 and $6,000.
The DIY savings are real only in the first three rows. Below that line, the “savings” evaporate the first time something goes wrong, and in the spring and post rows, the first thing that goes wrong can be a hand or an arm. We are not saying never DIY - we’re saying DIY with your eyes open about which row you’re standing on. Every professional quote includes a price agreed before work starts. Every honest shop will tell you the number before a single bolt is turned.
Why Huntington Park’s Climate and Housing Stock Change the Math
Huntington Park is not an abstract market. It has specific conditions that change how often gates fail and what kind of failures show up. The first is age. Most of the residential housing stock in this city was built between 1920 and 1960. That means many driveway gates are third-generation installations - the posts may be original, but the gate, the opener, and the hardware have been replaced multiple times, often by different people with different levels of skill. A gate that’s been through three different retrofit openers and two hinge swaps accumulates problems the way a forty-year-old car accumulates wiring gremlins. You don’t fix one thing. You fix the interaction between four different people’s decisions.
Second is the soil. Huntington Park sits on flat, historically wet ground near the old river plain. The soil here has a high clay content in many areas, which expands and contracts with seasonal moisture shifts. A concrete post footer that doesn’t go deep enough will work itself loose over twenty years, which is why post lean is the most common structural call we get in this city. A DIY patch that hides the lean without addressing the footer means you’ll be back in the same spot in eighteen months. We see it constantly east of Pacific Boulevard, where the older residential blocks sit on the heaviest clay.
Third is the industrial corridor. The stretch along Randolph and the rail and warehouse edges puts fine particulate in the air that settles on gate hardware, clogs opener gears, and cuts the life of sealed bearings. Homeowners near the northern industrial edge of Huntington Park should plan on more frequent lubrication and more frequent track cleaning than someone in a purely residential pocket. That’s not a sales pitch - it’s a maintenance schedule adjustment.
Tools, Training, and What “Done Right” Actually Means
A professional gate repair is not primarily defined by having a truck with a nice logo. It’s defined by the tools on that truck and the standards behind the work. When you call a professional gate company in Huntington Park, you’re paying for a specific set of capabilities. The truck carries the full range of opener diagnostic interfaces across nine major brands - LiftMaster, FAAC, BFT, and Linear among them - so the technician can read fault codes from the control board the way a mechanic reads an OBD-II port. The truck also carries the blocking and lifting gear to move a gate safely off its hinges without anyone holding it by hand. And it carries the consumables - stainless fasteners, correct-thickness shims, proper replacement springs rated for the gate’s actual weight, not whatever the hardware store had on the shelf.
Training matters more than most homeowners realize, especially on automation. A gate opener that is mis-programmed at installation can close with enough force to injure someone or damage a car. The right force settings, the right auto-close delays, the right photo-eye placement, the right edge-sensor calibration - none of this is guesswork, and none of it is universal. A slide gate on a 400-pound iron leaf responds differently than a swing gate on a 200-pound aluminum frame. Getting these settings wrong is the most common failure we see in “previous handyman” situations.
The standard that matters most is not the repair itself. It’s what happens if something goes wrong after the repair. Any professional gate company in Huntington Park should be able to answer one question in writing: what do you do if this fails in ninety days? Ironworks Gate Co. home has built its reputation on the 90-Day Done Right Promise for exactly this reason - if it’s not right, we come back and make it right, no paperwork, no arguing. That’s what separates a repair from a guarantee.
Step-by-Step: A Safe DIY Maintenance Routine
This is the maintenance routine we recommend every Huntington Park homeowner follow twice a year - once in late spring when the rains stop, once in late fall before they start. It takes under an hour, costs almost nothing, and prevents the slow deterioration that turns a $10 fix into a $600 repair.
- Inspect the gate visually before touching anything. Stand at the gate line and look at the posts. A post should be dead vertical. If the gate sags toward the latch side or the gap at the hinge side is wider at the top than the bottom, the post or the hinge has moved. Note it. Do not try to fix it with shims or washers - that is masking a structural problem.
- Clear the slide track if you have one. Use a stiff broom or a plastic scraper to remove debris from the V-track channel. Do not use a metal scraper; it can gouge the galvanized coating and invite rust. Check that the track is clear of bottles, rocks, and the trash that blows in from the street.
- Clean both photo eye lenses. Find the sensors near the bottom of the gate opening - one on each side. Wipe each convex lens with a dry or slightly damp cloth. This alone fixes a surprising number of intermittent “gate stops for no reason” issues.
- Lubricate moving metal points. Hinges on a swing gate, rollers on a slide gate, and the chain on a chain-drive opener. Use a dry silicone spray or white lithium. Wipe off excess with a clean rag. In Huntington Park’s dusty air, more lubricant is not better - it’s a dirt magnet.
- Test the safety reverse. With the gate open, place a cardboard box in the closing path and run a close cycle. The gate should stop or reverse on contact. Test both the photo-eye interrupt (break the beam with your hand as the gate closes) and the physical contact reverse (let it touch the box). If either test fails, stop using the automatic close function and call a professional.
- Check for unusual sounds. Run the gate through one full open-close cycle and listen. A grinding sound means a bearing has failed or the chain is rubbing something. A clicking sound often means a relay or a limit switch. A new vibration in the post means something structural changed. Sound is diagnostic data, and a professional can often identify the specific failure from your description over the phone.
Step-by-Step: What a Professional Gate Repair Actually Involves
If you’ve never watched a professional gate repair from start to finish, here’s what the process looks like on a typical spring-replacement or hinge-repair call in Huntington Park. It’s not magic - it’s a sequence of careful steps that accounts for the stored energy and structural load we discussed earlier.
- Safety blocking and load control. Before a single fastener moves, the gate is blocked and supported so it cannot fall, shift, or pinch anyone. The blocking is load-rated, not a couple of bricks from the side yard. This step alone is why spring and hinge work is never a solo DIY project.
- Diagnosis and documentation. The technician checks the gate’s swing or slide geometry, measures the gap at the hinges, reads the opener’s diagnostic codes if automation is involved, and photographs the failure. You get an explanation of exactly what’s wrong and what the fix involves, including parts and labor, before any work starts.
- Controlled disassembly. Fasteners are removed in sequence with the gate supported. Frozen bolts get penetrating oil or careful heat, not brute force with a breaker bar that rounds the head. The goal is to remove the failed part without damaging the surrounding material.
- Replacement with the correct part. The new hinge, spring, roller, or motor is matched to the gate’s actual weight, size, and duty cycle - not to the vague “residential gate” part from the big-box shelf. Brand matters here, which is why a properly stocked truck covers nine major automation manufacturers.
- Alignment and calibration. This is the step most DIY repairs skip. A new hinge must be shimmed so the gate hangs true. A new opener must be programmed with the correct force profile, the correct limit positions, and the correct safety-trigger sensitivity. Skipping calibration is how you get a gate that closes too hard, reverses unpredictably, or burns out its motor early.
- System test and cleanup. The gate cycles at least five times under observation. Safety functions are tested the same way we describe in the DIY section. The work area is cleaned, and the technician leaves only when the gate operates correctly under load.
- Written guarantee. The job note specifies what was done, what parts were used, and the guarantee period. At Ironworks, that’s the 90-Day Done Right Promise - if it’s not right within ninety days, we come back and make it right. No paperwork, no arguing.
Common Mistakes to Avoid
- Ignoring a gate that leans more and more each year. Post lean in Huntington Park’s clay soil rarely stabilizes on its own. By the time the gate scrapes the ground or binds the opener, the footer has usually failed and the repair is bigger than it would have been eighteen months earlier.
- Using the wrong lubricant. WD-40 is a solvent, not a lubricant - it cleans but does not protect moving metal under load. White lithium and dry silicone are the right choices for gate hardware, and in our dusty climate, less is more.
- Replacing an opener without addressing the structural problem underneath. If the gate is binding because a hinge sagged, a new opener will burn itself out fighting that resistance, often within a year or two. The gate comes first; the automation second.
- Cutting out a spring without understanding what it holds. Never, under any circumstances, cut or release a tensioned gate spring with the gate supporting it. The stored energy will release suddenly and violently.
- Buying “universal” hardware. There’s no such thing as a universal hinge or universal opener. A hinge sized for a 150-pound gate will fail fast on a 350-pound iron leaf. The part must be matched to the gate’s actual weight and cycle rate.
- Forgetting the safety sensors after a repair. After any electrical or structural work, retest the photo eyes and contact reverse. A gate that closes with full force on an obstruction is a serious liability and a preventable injury.
- Settling for a verbal “should be fine.” If a repair isn’t backed in writing - what happens if it fails next month - you don’t have a guarantee. You have a hope. Reputable gate companies in Huntington Park put the guarantee on the job note.
When to Call a Professional
Call a professional when the repair involves stored energy, structural load, line voltage, or any failure you’ve already tried to fix once without success. Specifically: if your gate leans visibly, if a spring looks stretched or squeaks loudly under movement, if the opener trips its breaker or smells hot, if the gate has jumped its rail, or if the safety reverse test fails. We’ve also said it already but it bears repeating: if a repair is on the never-attempt list, no YouTube video changes the risk calculus.
Ironworks Gate Co. offers free estimates throughout Huntington Park. If you’re looking at a gate problem and you’re not sure whether it’s a Saturday project or a serious repair, call (747) 774-7784. A real person answers, day or night, and our team will tell you honestly what you’re looking at. If it’s something you can safely handle yourself, we’ll tell you that too. Done right - and backed in writing.
Frequently Asked Questions
Gate repair in Huntington Park typically ranges from $89 for a seasonal tune-up to $180-$340 for a spring replacement or hinge repair, with full gate replacements falling between $3,500 and $8,000 depending on size and automation. The exact number depends on what’s actually failed, which is why the diagnosis matters more than the estimate. Call (747) 774-7784 and we’ll give you a clear price before any work starts - estimates are free.
You can troubleshoot a gate opener by cleaning the photo eyes, checking for power, and resetting the breaker, but anything involving the control board, line voltage, or motor replacement should be left to a professional trained on your specific brand. Mis-wiring a new motor can destroy it on first power-up, and most manufacturers will not honor a warranty on a self-installed opener. If the opener is more than a dirty sensor away from working, call a pro.
Spring replacement or tension adjustment on a swing gate is the most dangerous gate repair a homeowner can attempt. The spring holds hundreds of pounds of stored force, and releasing that tension incorrectly turns the spring, bracket, or tool into a fast-moving projectile. Post re-setting and track re-railing are close behind, because they involve controlling a several-hundred-pound gate in the air. None of these are worth a trip to the emergency room.
Gate posts lean in Huntington Park because much of the city sits on expansive clay soil that moves with seasonal moisture changes, and many older post footers were poured shallow by 1950s-era construction standards. Over twenty or thirty years of wet-dry cycling, the footer works loose and the post tilts under the weight of the gate. The fix is not shimming the hinge - it’s re-setting or replacing the footer, which requires lifting gear and two people at minimum.
Twice a year is the right service interval for most Huntington Park gates - once in late spring and once in late fall. Gates near the industrial corridor or the rail lines pick up more airborne grit and may need the track and rollers cleaned more often. A professional tune-up runs $89 and catches small problems like dry bearings or a failing capacitor before they become expensive failures.
Ironworks Gate Co. handles the full scope of driveway and estate gate work - repair, new installation, motors and openers, access control, keypads, parts, and welding. We’re trained and equipped on nine major automation brands including LiftMaster, FAAC, BFT, and Linear, so whatever is on your driveway, we can service it correctly the first time. Call (747) 774-7784 for a free estimate on any gate project in Huntington Park.
The Bottom Line
The DIY-versus-professional decision on a Huntington Park gate comes down to one question: does this repair involve stored energy, structural load, or line voltage? If it does not - if it’s cleaning, lubricating, tightening a visible fastener, or wiping a sensor - grab your tools and get it done. If it does, the honest answer is that a professional is not an expense; a professional is the cheaper option, because a miss on a spring, a weld, or a wiring job costs orders of magnitude more than the service call it would have taken to get it right the first time. Huntington Park’s older housing stock, clay soil, and dusty air mean gates here fail in predictable ways. Knowing which failures are yours to fix and which ones aren’t is the whole decision. For everything on the professional side of the line, call (747) 774-7784. Free estimates, upfront pricing, and a written 90-Day Done Right Promise on every repair we complete.
Written by Victor Salinas, Owner at Ironworks Gate Co., serving Huntington Park since 2013.